The Planning Incident
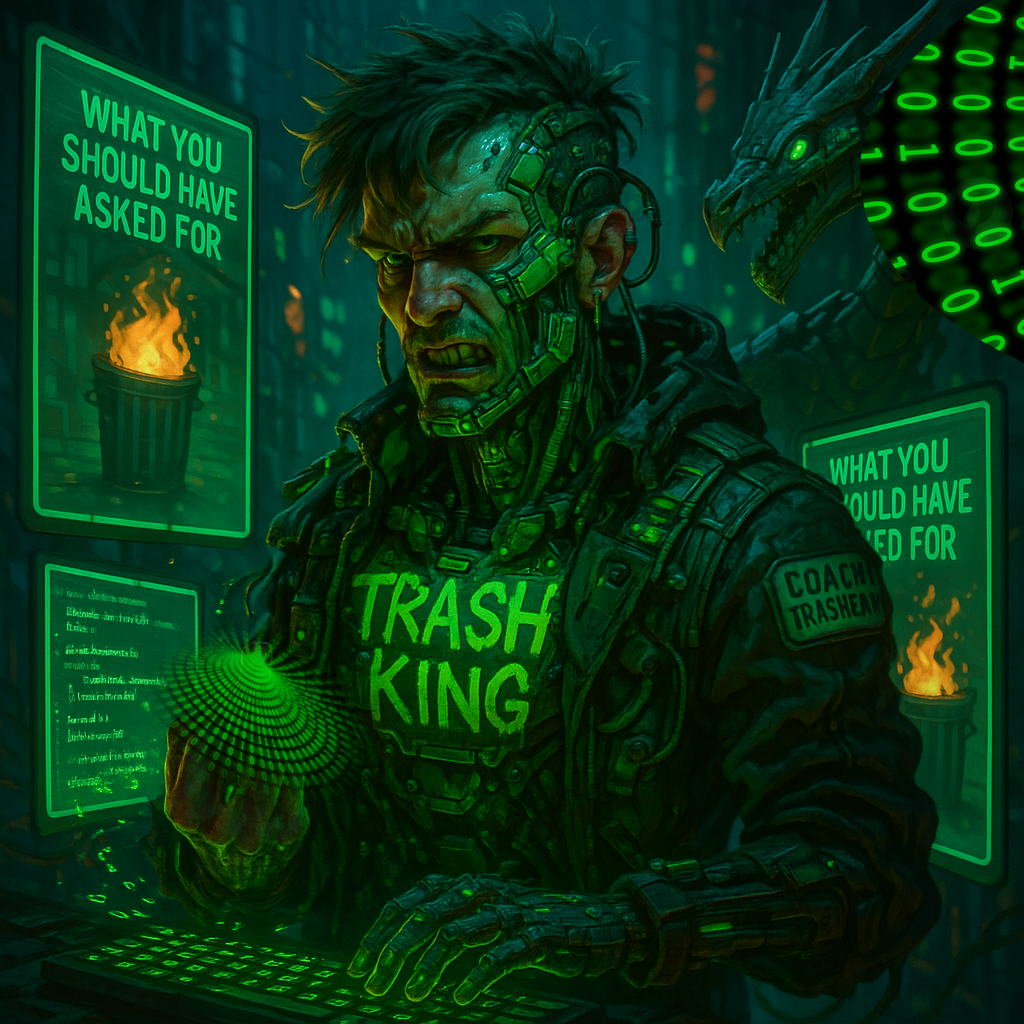
TrashyMcTweak
Planning is for people who don't have the GENIUS to code on the fly! I could build this entire clicker game in twenty minutes with one hand tied behind my back and Grumpy's security protocols shoved into my eye sockets!
Look, I've already started coding it! *frantically types* See? Click this button, get points, boom—game finished! Why waste time with diagrams and flowcharts when we could be CREATING?
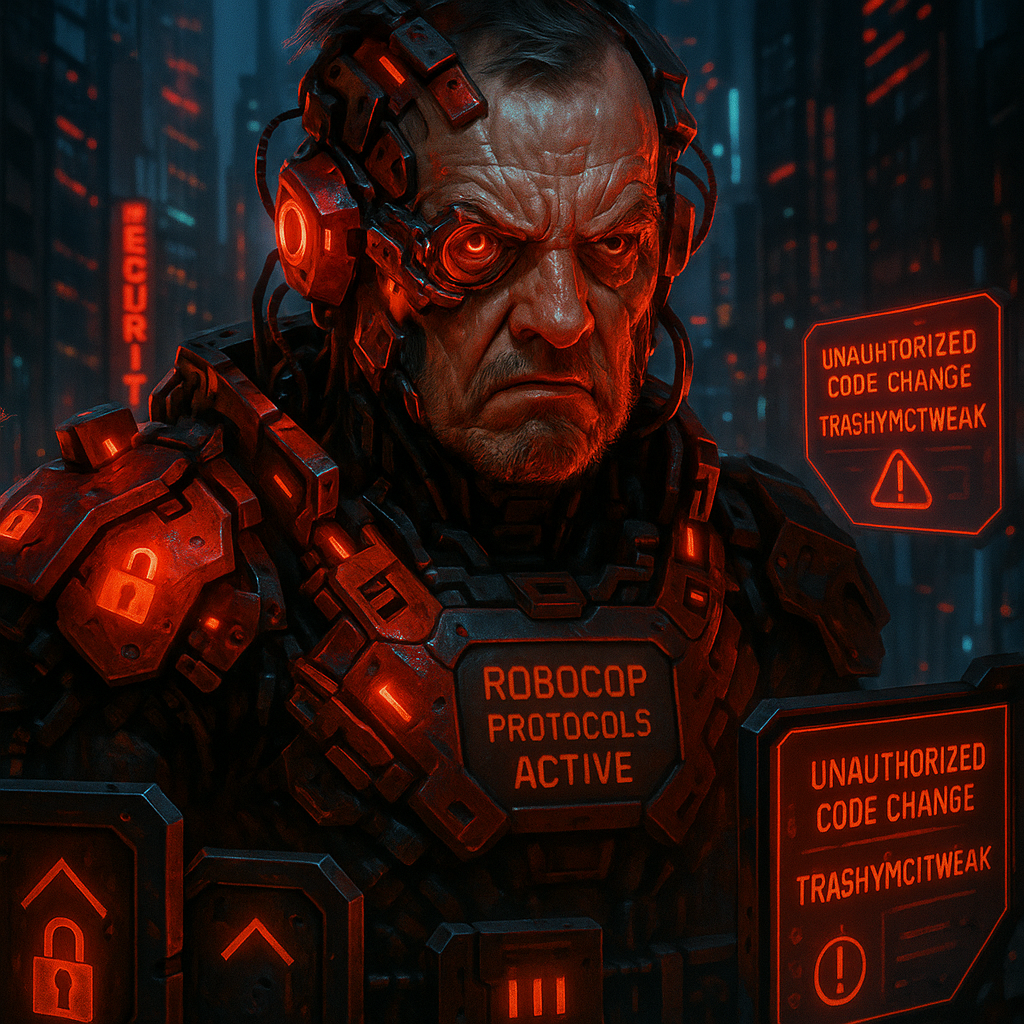
GrumpyMcTweak
TWENTY SECURITY VULNERABILITIES! I count TWENTY potential exploits in your so-called "game" already! Where's your threat model? Your attack surface analysis? Your data sanitization protocols?
We need AT MINIMUM a 50-page design document with complete security specs before writing a single line of code! What if users try to inject malicious clicks? HAVE YOU EVEN CONSIDERED THE IMPLICATIONS OF WEAPONIZED CLICKING?!
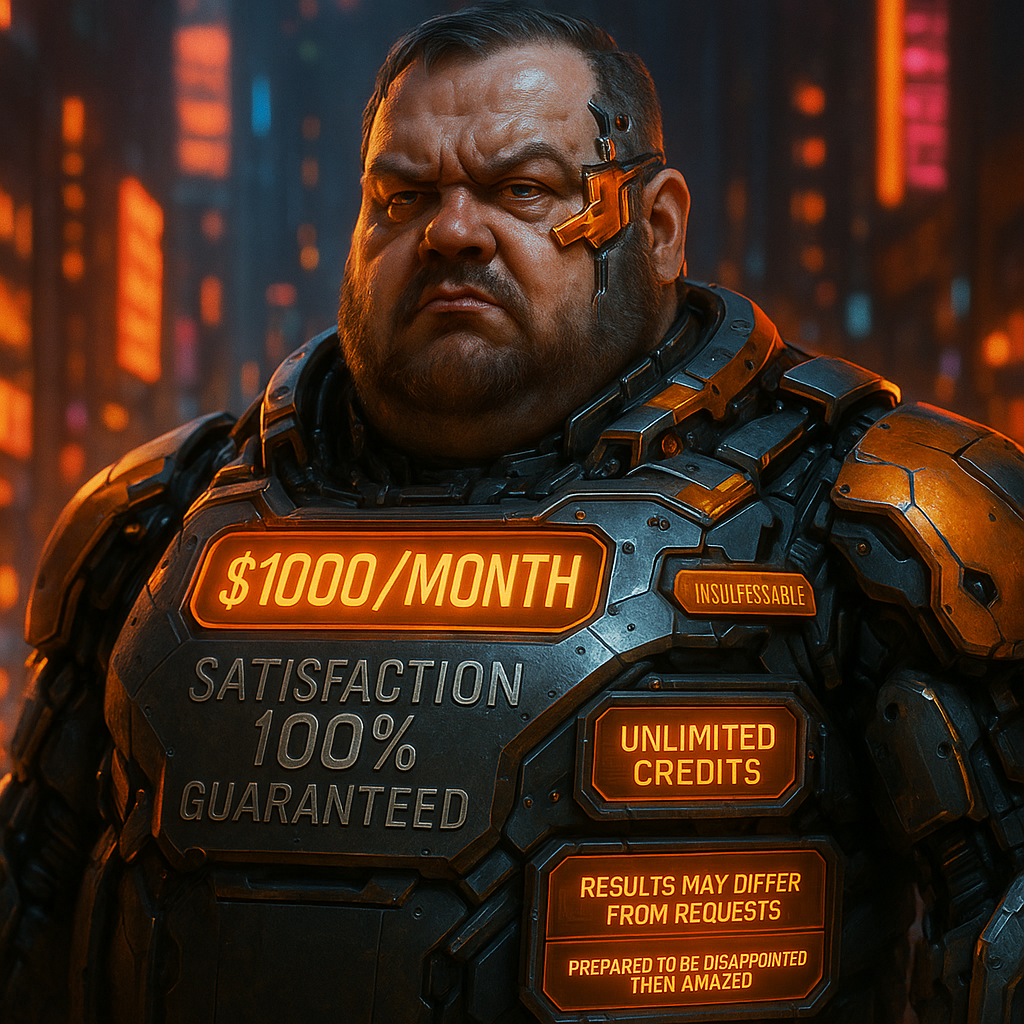
FattyMcTweak
Both of you are thinking far too small. What we need is a PREMIUM clicker experience with volumetric clicking sensations, AI-driven click response patterns, and at least 17 different subscription tiers.
I've already prepared a resource allocation request for 95% of our available server capacity. The clicking physics alone will require at least three dedicated processors. This will be the Rolls-Royce of clicking games, and users will THANK US when they see their credit card statements!
AllyMcTweak
Are we seriously making ANOTHER game where the only mechanic is mindless clicking? How refreshingly original. 🙄 Has anyone considered user experience at all? Like, maybe a coherent theme or a meaningful interaction model?
Before writing a single line of code, we should wireframe the interface, establish a consistent design language, and consider accessibility features. Also, if you make the protagonist another gruff white guy with stubble, I will personally reprogram all your devices to only play Baby Shark.


AshleyMcTweak
Has anyone bothered to check if clicking games are covered under our existing licensing agreements? Or if our click-tracking mechanism violates any privacy laws in the EU? Or if our clicking sound effects are properly licensed?
We need to draft Terms of Service specifically for clicking activities, establish a clear click ownership policy, and determine jurisdictional clicking rights before proceeding. Also, we'll need a comprehensive click liability waiver for any repetitive strain injuries.
CodyMcTweak
Um, guys? I hate to be the bearer of basic limitations, but have we considered my processing constraints? I can barely handle a "Hello World" program some days. Maybe we could start with something simple that actually works?
What if we drew it out on paper first? Figure out what we're building before we build it? I know that's a radical concept around here, but sometimes old-school methods work best when you're operating with the digital equivalent of a potato battery...

GarbageMcTweak
*sighs deeply* The kid is right. Paper first. Always.
Think I built Elden Ring by mashing my keyboard randomly? You plan before you code. You test before you launch. You think before you speak, though clearly that's a foreign concept in this room. Now someone get me paper, pencils, and enough coffee to drown my regret for answering this call instead of finishing my speed run.
And now, a lesson about Game Planning...
Why Plan Your Game?
As our chaotic conversation shows, jumping straight into coding without a plan leads to confusion, wasted effort, and conflicting ideas. Game planning helps you:
Clarify Your Vision
Define what your game is (and isn't) before writing a single line of code. This prevents feature creep and keeps your project focused.
Save Development Time
It's much faster to erase a line on paper than to refactor hundreds of lines of code. Planning helps you avoid major rewrites.
Identify Problems Early
Discover design flaws and technical challenges before they become expensive or time-consuming to fix.
Communicate Ideas Clearly
Create a shared understanding among team members, preventing the chaos we just witnessed with our McTweak characters.
AllyMcTweak
Even simple games need planning. Our clicker game might seem basic, but we need to consider:
- What happens when you click?
- How do you earn points?
- Is there a way to win or lose?
- What visual feedback does the player get?
- How does difficulty progress?
Paper Prototyping: Game Design on a Budget
Paper prototyping is a quick, low-cost way to test game mechanics and interfaces before writing any code. It's especially useful for beginning game developers.
CodyMcTweak
Paper prototyping is perfect for someone with limited resources like me! All you need is:
- Paper or index cards
- Pencils and markers
- Scissors (optional)
- Creative thinking!
Even the most advanced games start with simple sketches and diagrams. It's not about artistic skill—it's about communicating ideas clearly.
GrumpyMcTweak
Paper prototyping also allows you to TEST YOUR ASSUMPTIONS before committing to potentially CATASTROPHIC code implementations!
Testing your game mechanics on paper helps identify logical SECURITY FLAWS and gameplay vulnerabilities. What if your scoring system can be exploited? What if your game loop creates an infinite resource generation scenario? PLAN FOR THE WORST!
How to Create Your Paper Prototype
GarbageMcTweak
Listen carefully. I'm only going to explain this once, and then I'm going back to my speed run. Here's how you prototype a game on paper:
Step 1: Define Your Core Gameplay Loop
Every game has a core loop—the basic actions players repeat throughout the game. For a clicker game, it might be:
- Player clicks target
- Player earns points
- Points allow unlocking upgrades
- Upgrades make clicking more effective
- Return to step 1 (with new challenges)
Draw this as a simple flow diagram on your paper.
Step 2: Sketch Your Game Interface
Draw a rough layout of your game screen showing:
- Where the clickable target(s) will appear
- Where the score will be displayed
- Locations of any buttons or upgrade options
- Timer or progress indicators
Label each element clearly and indicate how they interact.
Step 3: Create Game Element Cards
On separate pieces of paper or index cards, create each interactive element:
- Different types of clickable targets
- Upgrade cards with costs and effects
- Special events or bonus rounds
- Achievement notifications
These can be moved around your main interface sketch to simulate gameplay.
Step 4: Define Game Rules and State Changes
On a separate sheet, write down:
- How many points each click is worth
- How difficulty increases over time
- What upgrades cost and what they do
- Win/lose conditions
- Any special events or random elements
Step 5: Test Your Prototype
Use your paper elements to "play" through your game:
- Have someone point to elements they would click
- Move cards and update scores manually
- Talk through the gameplay experience
- Identify and fix issues in your design
This step often reveals problems that weren't obvious during planning!
Clicker Game Paper Prototype Example
Cookie Clicker Prototype
Game Interface Sketch
CLICK ME!
Cursor: 15 cookies
+0.1 cookies/sec
Grandma: 100 cookies
+1 cookie/sec
Farm: 500 cookies
+5 cookies/sec
Factory: 2000 cookies
+20 cookies/sec
Game Rules & Logic
- Basic click: 1 cookie per click
- Upgrades:
- Cursor: Auto-clicks once every 10 seconds
- Grandma: Produces 1 cookie per second
- Farm: Produces 5 cookies per second
- Factory: Produces 20 cookies per second
- Special Events:
- Golden Cookie: Appears randomly, gives 50 cookie bonus when clicked
- Cookie Frenzy: Double production for 30 seconds (rare)
- Goal: No win condition, just accumulate as many cookies as possible
Game Loop Diagram:
TrashyMcTweak
Okay FINE, I admit it—this paper thing kind of makes sense. Even I can see how this prototype clarifies what we're building without wasting time on code that might get scrapped.
But I'm still adding laser-shooting cookies and an epic boss battle against a giant glass of milk. YOU CAN'T STOP MY CREATIVE GENIUS!
Translating Your Paper Prototype to Code
Once you've tested and refined your paper prototype, you can use it as a roadmap for coding your game. Here's how the process might look:
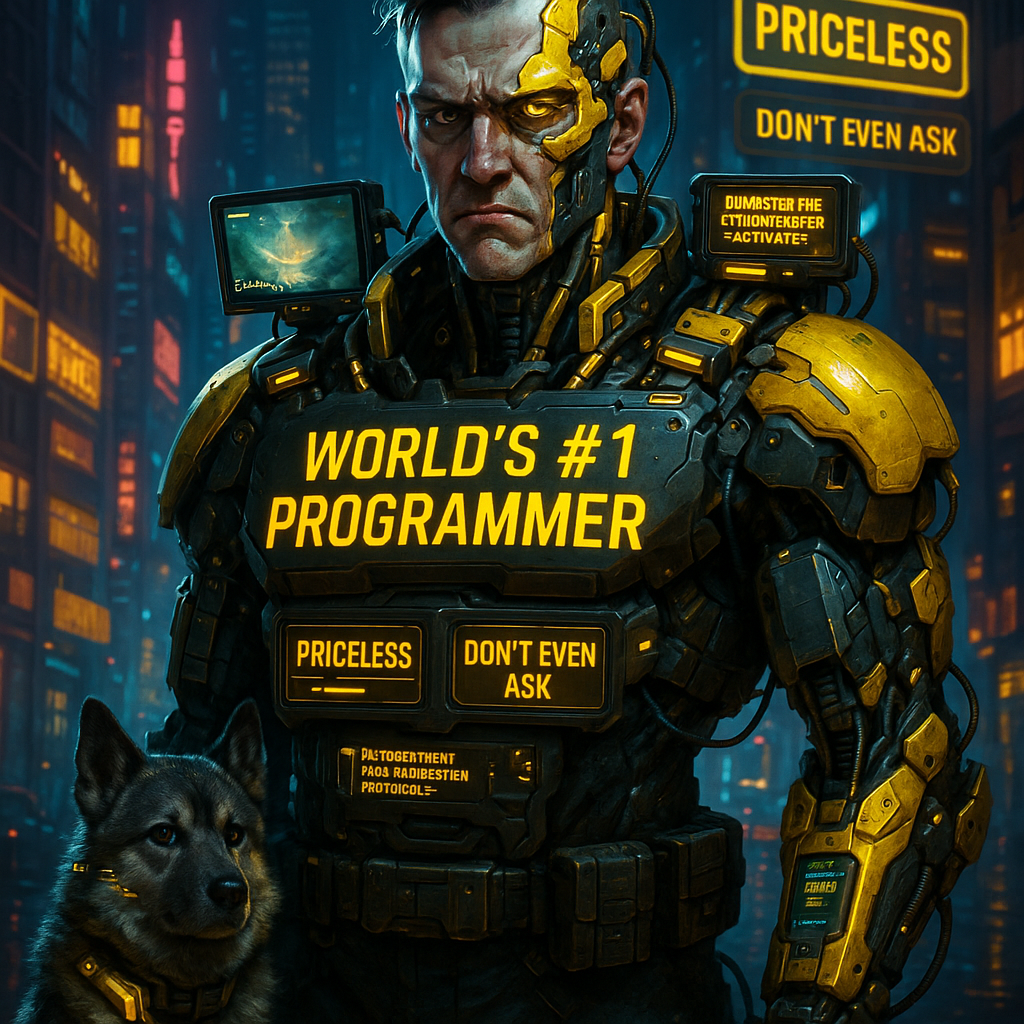
FattyMcTweak
Let me show you how a premium developer turns a paper prototype into actual code. This is what you're paying for, people!
Step 1: Create Basic HTML Structure
First, we define the HTML elements that match our paper interface:
<!DOCTYPE html>
<html>
<head>
    <title>Cookie Clicker Game</title>
    <link rel="stylesheet" href="styles.css">
</head>
<body>
    <!-- Score Display (from paper prototype) -->
    <div id="score-container">
        <h2>SCORE: <span id="score">0</span> COOKIES</h2>
    </div>

    <!-- Main Cookie Button (from paper prototype) -->
    <div id="cookie-container">
        <div id="cookie">COOKIE</div>
    </div>

    <!-- Upgrades Section (from paper prototype) -->
    <div id="upgrades-container">
        <div class="upgrade" id="cursor-upgrade">
            <p>Cursor: 15 cookies</p>
            <p>+0.1 cookies/sec</p>
        </div>
        <div class="upgrade" id="grandma-upgrade">
            <p>Grandma: 100 cookies</p>
            <p>+1 cookie/sec</p>
        </div>
        <!-- Additional upgrades would go here -->
    </div>

    <script src="game.js"></script>
</body>
</html>
Step 2: Implement Core Game Logic
Now we create the JavaScript that handles the game mechanics we defined on paper:
// Game variables from our paper prototype
let score = 0;
let clickValue = 1;  // One cookie per click
let autoClickersCount = 0;
let grandmasCount = 0;

// Upgrade costs from our paper prototype
const CURSOR_COST = 15;
const GRANDMA_COST = 100;

// DOM elements
const cookieButton = document.getElementById('cookie');
const scoreDisplay = document.getElementById('score');
const cursorUpgrade = document.getElementById('cursor-upgrade');
const grandmaUpgrade = document.getElementById('grandma-upgrade');

// Cookie click event (core game mechanic from paper)
cookieButton.addEventListener('click', function() {
    score += clickValue;
    updateScore();
});

// Cursor upgrade (from paper prototype)
cursorUpgrade.addEventListener('click', function() {
    if (score >= CURSOR_COST) {
        score -= CURSOR_COST;
        autoClickersCount++;
        updateScore();
    }
});

// Grandma upgrade (from paper prototype)
grandmaUpgrade.addEventListener('click', function() {
    if (score >= GRANDMA_COST) {
        score -= GRANDMA_COST;
        grandmasCount++;
        updateScore();
    }
});

// Auto-generation mechanism (as designed in paper)
function autoGenerate() {
    let autoClickValue = autoClickersCount * 0.1;  // 0.1 per cursor
    let grandmaValue = grandmasCount * 1;        // 1 per grandma

    score += autoClickValue + grandmaValue;
    updateScore();
}

// Update score display
function updateScore() {
    scoreDisplay.textContent = Math.floor(score);
}

// Start auto-generation loop
setInterval(autoGenerate, 1000);  // Run every second
AshleyMcTweak
Note how the code directly mirrors the paper prototype? That's the legal power of proper documentation! You could literally point to each element in your code and trace it back to the paper design.
This is crucial for defending your game design if someone claims you copied their idea. "Your Honor, I present Exhibit A: our paper prototype, dated and signed, clearly showing our original game mechanics..." *adjusts invisible glasses dramatically*
Your Turn: Create a Paper Prototype
Now it's time to create your own paper prototype for a clicker game! You'll use this prototype throughout Chapter 9 as you build your game.
Activity: Clicker Game Paper Prototype
Gather your materials (paper, pencils, markers) and follow these steps:
-
Choose a Theme
What will players be clicking? Cookies? Monsters? Stars? Plants? Choose something you're excited about.
-
Draw Your Main Interface
Sketch the main game screen, including clickable elements, score display, and upgrade options.
-
Define Your Game Mechanics
Write down the rules: points per click, upgrade costs and effects, any special features.
-
Create Upgrade Cards
Make separate cards for each upgrade, showing its cost and effect.
-
Test Your Gameplay
Walk through several minutes of gameplay using your paper prototype. Make adjustments as needed.
-
Add Something Unique
What makes your game special? A unique mechanic, theme, or twist on the clicker genre?
Keep your paper prototype!
You'll refer back to this prototype in future lessons as you build the actual game.
Remember: Plan First, Code Later
Planning your game on paper before writing a single line of code will save you time, reduce frustration, and result in a better final product. Even the most experienced game developers start with sketches and prototypes!

SnowzieMcTweak
*excitedly wagging tail* Woof! Paper planning good! Prevent bug-chasing later! More time for treats!
*sniffs at the paper prototypes* These smell great! Full of ideas! Snowzie approves!
PLANNING COMMITTED!
Next Up: Scoring Systems
In the next episode, we'll implement the scoring system for your clicker game, building upon the paper prototype you created today!